
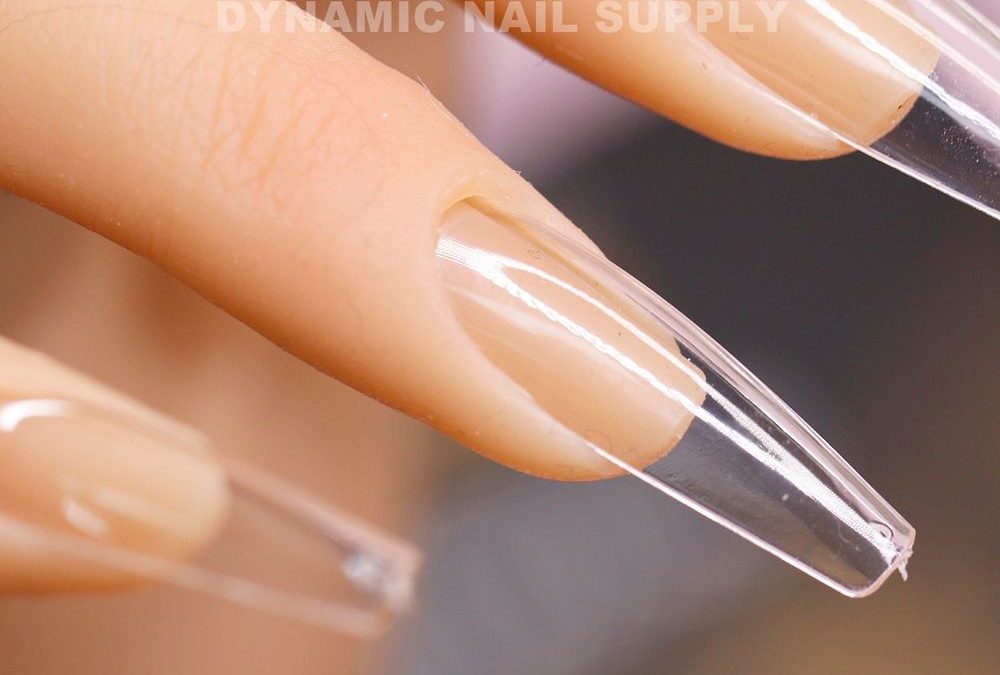
Definition: Applying Coffin L clear tips is the workflow of sizing, prepping, bonding and finishing long coffin-shaped clear full-cover soft-gel tips chairside or in a client’s home.
Station setup for mobile services
- Pack a compact kit: work mat, LED lamp, brush, glue (or gel adhesive), alcohol wipes, pushers, clippers, files (180/240), buffer, nail dehydrator, primer, and a tip sizing wheel or sample tray.
- Bring the black 600-piece box for backup sizes and display; it doubles as a tidy storage and a professional prop during trials.
- Lay out tools in left-to-right order for a right-handed workflow (mirror if left-handed) to minimize reach and keep service time predictable.
- Set a soft pale background (a towel or portable mat) to protect the glossy clear tips from scratching when removing from the box.
Quick specs
- Product: Coffin L clear full-cover soft-gel tips
- Count: 600 pieces per box, 11 sizes
- Finish: high-gloss clear (no prebuff)
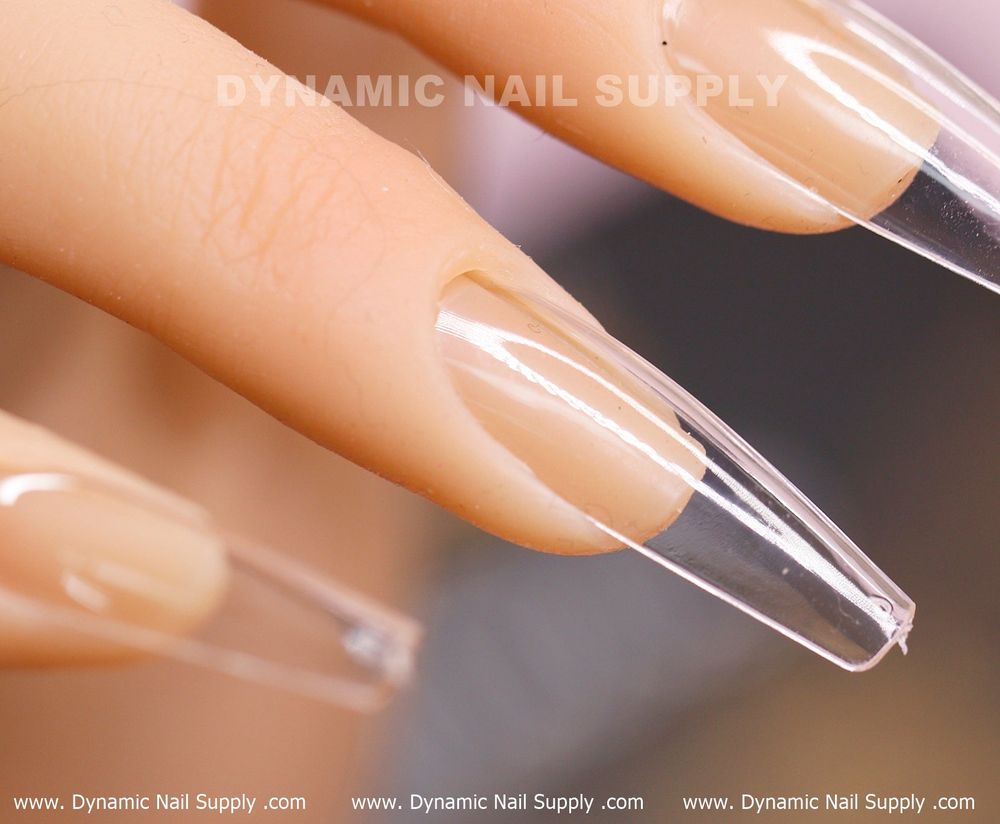
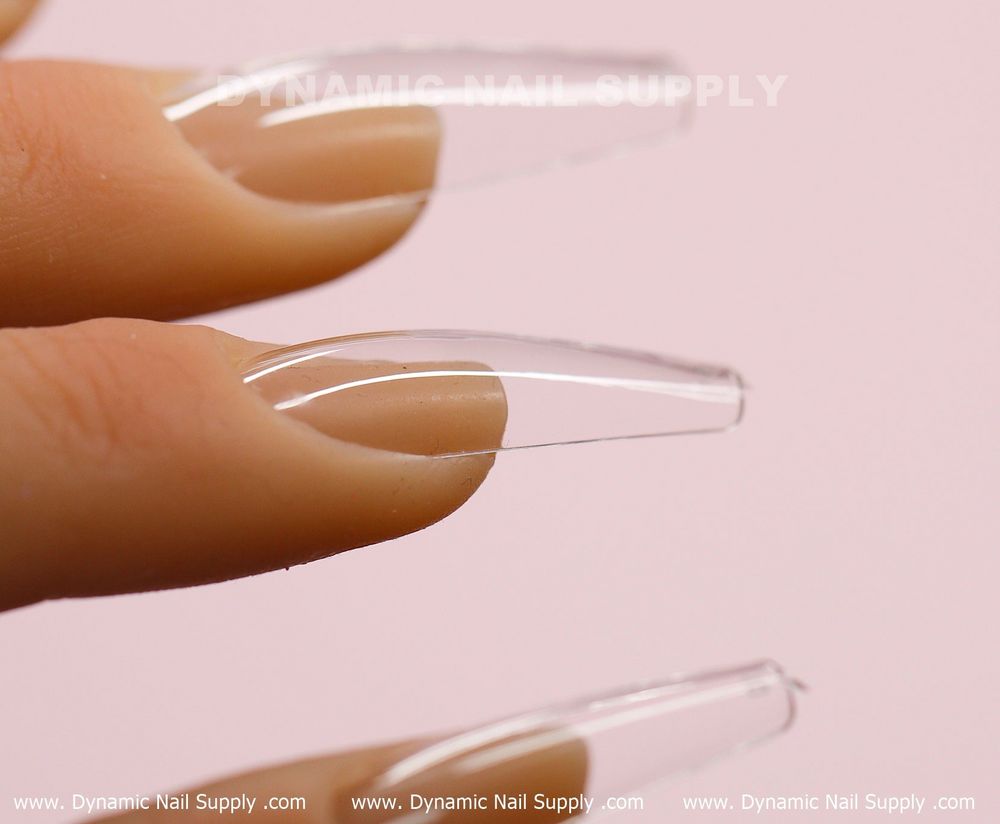
- Shape: coffin L — long tapered square silhouette
- Compatibility: bond with glue or soft-gel adhesive
Fast sizing protocol
- Dry measure each nail with the client’s hand flat. Start with the ring finger — match the widest point of the natural nail to the tip’s base.
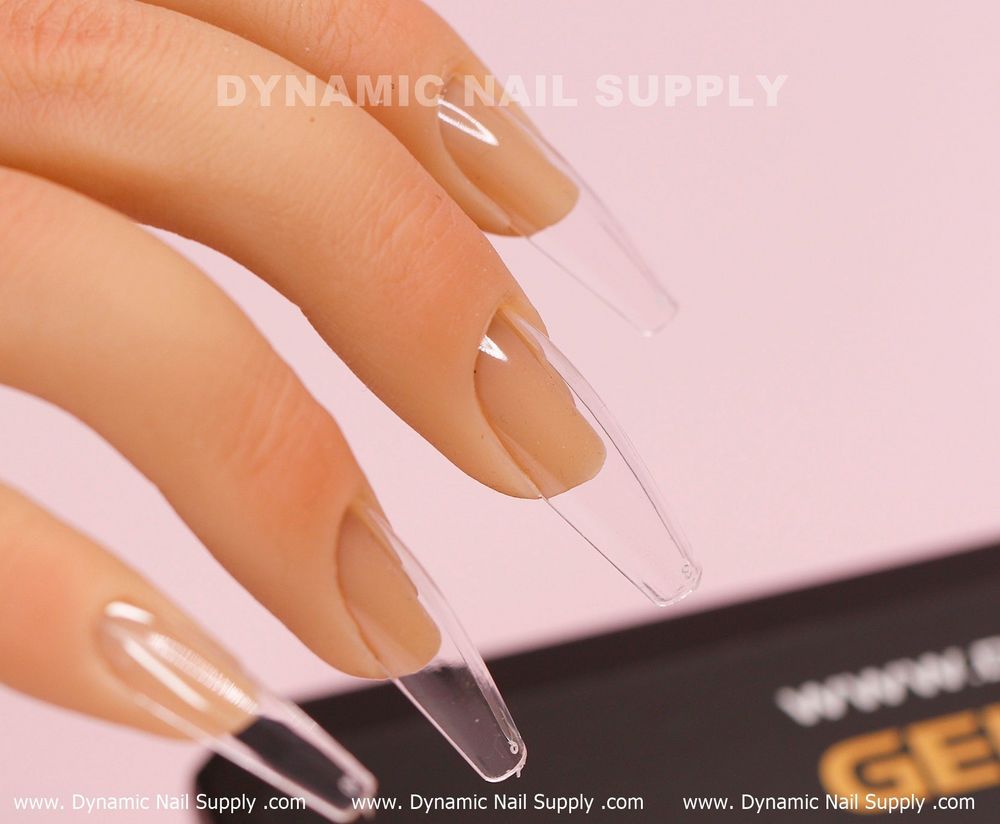
- Use the box display or a sample on nude mannequin fingers to verify coffin silhouette on-screen photos or client reference images.
- When between sizes, size up for comfort (use more fill later) or size down if the client prioritizes thin free edge; mark each chosen size on a disposable tray to avoid mix-ups.
- Count spares from the 600-piece box before leaving the station; a packed kit saves time when sizes repeat across clients.
Prep and bonding sequence (repeatable, chairside)
- Sanitize hands and work area. Remove oils with a 70%+ alcohol wipe; avoid over-saturating the natural nail to prevent lifting of primer.
- Lightly buff natural nail surface with a 180/240 file—do not over-file. Because these tips are not prebuffed, preserve the tip’s glossy finish until fit is confirmed.
- Apply dehydrator and thin primer as instructed by the chosen adhesive system. Air-dry briefly; do not cure unless using a gel adhesive that requires lamp curing.
- Apply a thin, even bead of glue or a thin layer of gel adhesive to the tip cup. Position the Coffin L clear tip at the cuticle edge and press down, sliding slightly toward the free edge to expel air and excess adhesive.
- If using light-cure gel adhesive, tack into place and cure according to product directions under the LED lamp. For traditional cyanoacrylate glue, hold steady for 10–15 seconds and check bond before filing.
Shaping and finish without losing clarity
- Trim to desired length with clippers or tip cutter, keeping the long tapered profile intact for the coffin L silhouette.
- Shape sidewalls and free edge with a 180 file; work in one direction across the edge to avoid micro-tears in the clear plastic.
- Because these tips are clear and unbuffed, if an encapsulated or glass-effect finish is planned, avoid heavy back-and-forth buffing that can cloud clarity.
- If blending the seam, use very light filing at the junction and consider a thin overlay of soft gel to seal and smooth — cure and finish per the overlay product’s instructions.
Transport, staging, and time-saving when using 600 pcs
- Pre-sort common sizes into labeled small cups before appointments to cut on-chair sizing time. The 600-piece box supports multiple bookings without immediate restock.
- Use the black box’s printed text and gold accents to show clients the professional packaging while you demo fit options on their hand.
- Keep pre-sized rows and a single trial set to confirm final length and shape before full bonding to reduce rework.
Order and full specs here: Coffin L clear tips
Handling and hygiene notes
- Handle clear glossy tips with nitrile gloves to prevent fingerprints that mar the glass-like finish.
- Do not autoclave tips. Wipe with alcohol and store in the box. Replace tips that distort or crack.
- Avoid soaking the bonded tip in water for long periods immediately after service to help adhesive cure time.
Common beginner troubleshooting
- Lift at sidewall — likely incorrect sizing or excess moisture; re-seat after gentle removal of adhesive and reapply primer.
- Cloudy finish after shaping — caused by aggressive buffing; refinish with a thin gel overlay to restore clarity.
- Uneven free edge — re-cut and file in small increments to maintain the coffin L profile.
Pro tip: Pre-sort five size sets into disposable trays before each booking; it saves time, reduces handling of the glossy clear tips, and keeps a predictable pace for mobile services. Price listed at $12; prices may change.